Install and Activate the WordPress StickyCTA Plugin
To install the StickyCTA plugin, it’s very straightforward.
Download the WordPress StickyCTA plugin from this page: https://www.sticky-cta.com/dl-stickycta-free/
Once the plugin archive is downloaded, go to your WordPress site’s admin area.
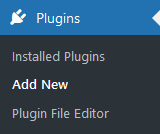
Next, navigate to the left menu: Plugins, then Add New.
At the top of the page, click on Upload Plugin, then Browse.
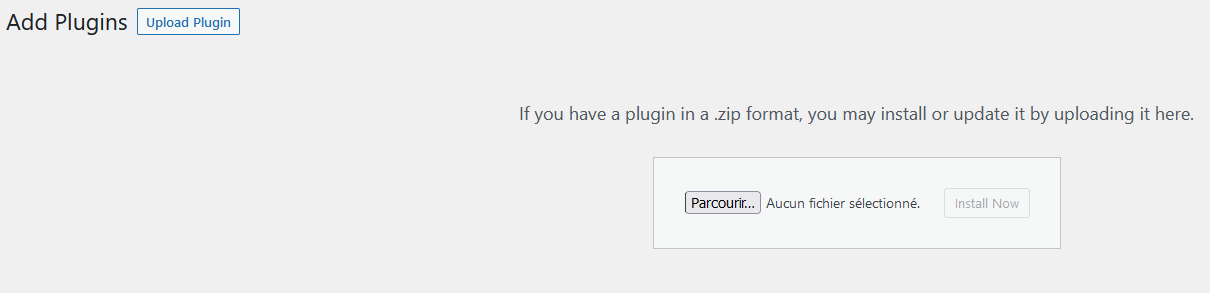
Load the previously downloaded plugin archive, then click on Install Now.

After the upload is complete, click on Activate Plugin.
[Image]
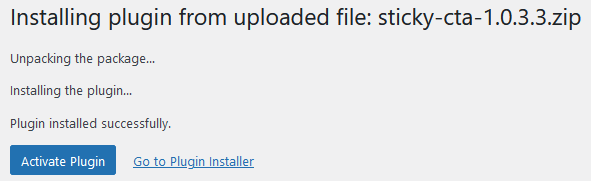
StickyCTA is now installed on your website.
If you are using the free version, go to the page: Create a Banner with StickyCTA.
For the fortunate owners of the premium version, follow the next step to proceed with activation.
Activate the StickyCTA Plugin
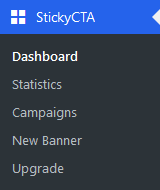
To activate the plugin and enjoy all its features, go to the StickyCTA menu, located to the left of your WordPress administration, then click on Upgrade.
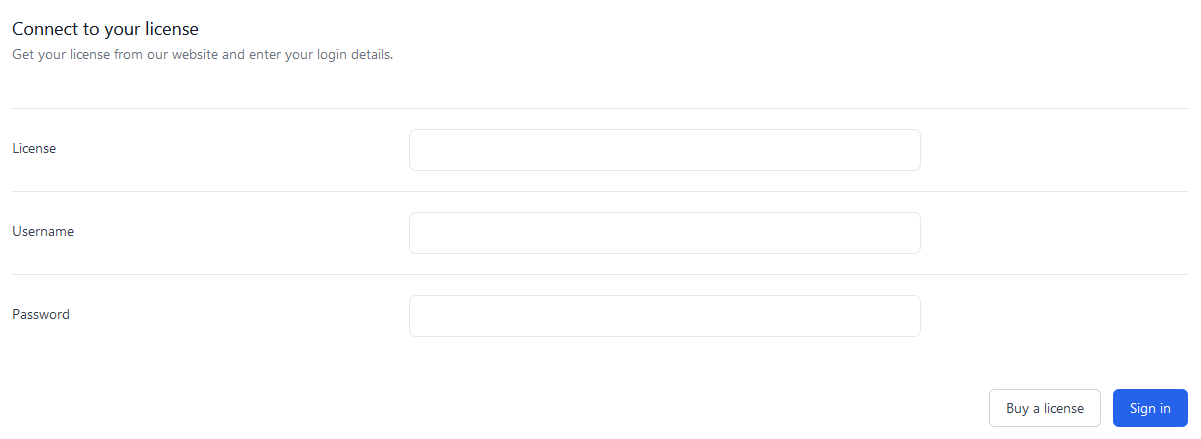
You will reach the activation page where you need to provide 3 pieces of information:
- License Number: which you received via email, also available on your client account.
- Username: which you provided during the creation of your account.
- Password: which you provided during the creation of your account.
After entering these 3 details, click on Login, and your license is validated. You can then enjoy all the features of the StickyCTA plugin.
Next step, introduction and getting started with StickyCTA.
